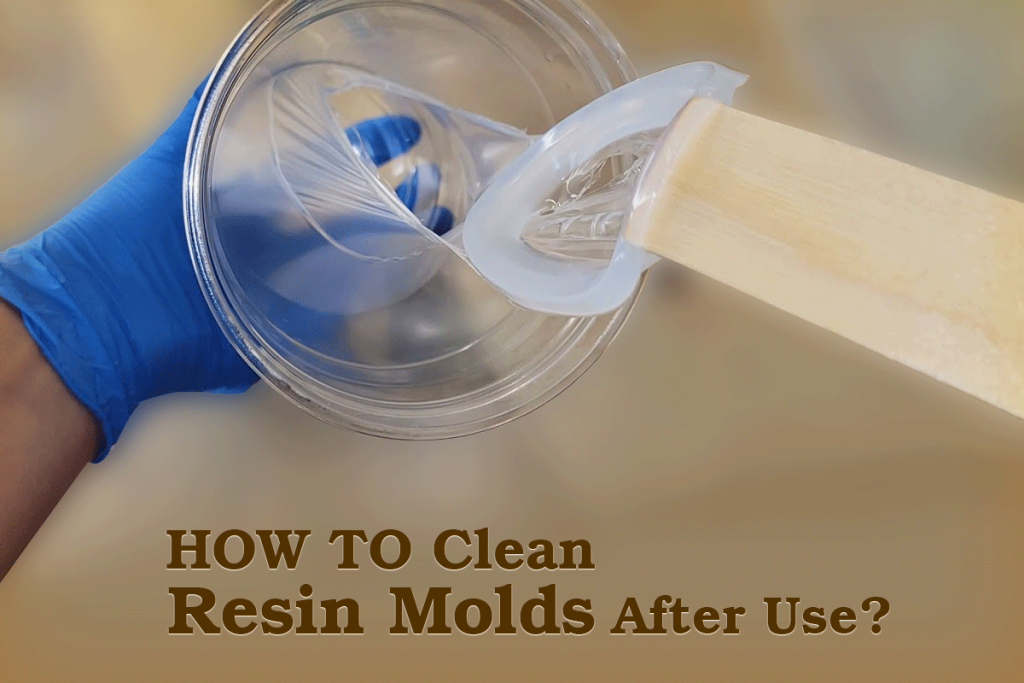
Resin molds are vital for crafting stunning and durable resin creations. To keep your molds in top condition and ensure they last for many projects to come, proper cleaning is essential after each use. Follow this step-by-step guide to effectively clean your resin molds:
Materials Needed
To clean resin molds effectively, you’ll need a few essential materials. Here’s a list of what you’ll need and their purposes:
- Disposable Gloves: Protects your hands from resin residues and cleaning chemicals.
- Isopropyl Alcohol (IPA) or Acetone: Dissolves and removes leftover resin from the mold. IPA is generally gentler, while acetone is stronger but may be harsher on some mold materials.
- Soft Brush or Sponge: Helps apply cleaning agents and scrub away resin residues without damaging the mold’s surface.
- Mild Dish Soap: Cleans away any grease or remaining residues left from the cleaning agents. A mild formula ensures it won’t damage the mold.
- Warm Water: Rinses away cleaning agents and helps in removing any soap residues.
- Clean, Dry Cloth: Used to dry the mold after washing, ensuring no moisture is left that could lead to damage or residue build-up.
- Cotton Swabs or Q-Tips: Ideal for cleaning small, intricate areas or crevices in the mold that are difficult to reach with a brush or sponge.
Having these materials on hand will ensure that you can effectively clean your resin molds and maintain their quality for future use.
Steps to Clean Resin Molds:
Wear Gloves
Protects your hands from resin residues and cleaning agents.
- Put on Disposable Gloves: Before starting the cleaning process, put on a pair of disposable gloves. This is crucial for safeguarding your skin from any residual resin and the cleaning chemicals you’ll be using.
- Choose the Right Gloves: Ensure the gloves are made of a material that provides a good barrier against chemicals, such as nitrile or latex. This will help prevent any irritation or allergic reactions.
- Handle With Care: Even though gloves provide protection, be mindful when handling cleaning agents and the resin mold to avoid spills or splashes.
Remove Excess Resin
Clears out leftover resin from the mold to prepare it for thorough cleaning. Inspect the mold to determine if the resin is still soft or if it has hardened.
For Soft Resin:
- Peel Gently: If the resin is still soft, gently peel it out of the mold using your fingers or a plastic tool. Avoid using excessive force to prevent damaging the mold’s surface.
For Hardened Resin:
- Use a Plastic Scraper: For resin that has hardened, use a plastic scraper or a similar non-abrasive tool. Carefully slide the scraper under the edges of the resin to lift it out. Be gentle to avoid scratching or damaging the mold.
- Remove Small Residues: After removing the bulk of the resin, check for any small pieces or residues left in the mold. Use a soft brush or your fingers to dislodge and remove these bits.
Apply Isopropyl Alcohol or Acetone
Dissolves any remaining resin and prepares the mold for thorough cleaning.
Select Your Cleaning Agent:
- Isopropyl Alcohol (IPA): Generally gentler on molds, making it suitable for most mold materials.
- Acetone: More potent and effective for tougher resin residues but can be harsh on certain mold materials.
Prepare the Cleaning Tool:
- Soak a Soft Brush or Sponge: Dampen a soft brush or sponge with isopropyl alcohol or acetone. Ensure the brush or sponge is thoroughly soaked to effectively dissolve the resin.
Gently Scrub the Mold:
- Apply the Solution: Gently scrub the mold with the dampened brush or sponge. Focus on areas with remaining resin, using a circular motion to dissolve and lift away the resin.
Be Cautious with Acetone:
- Test First: If using acetone, test a small, inconspicuous area of the mold first to ensure it does not cause any damage or degradation.
- Use Sparingly: Apply acetone in small amounts and avoid prolonged exposure to prevent potential harm to the mold material.
Rinse with Warm Water
Removes residual cleaning agents and prevents potential chemical reactions that could affect future resin pours.
Prepare Warm Water:
- Temperature: Use warm water, not hot, to avoid warping or damaging the mold material. The water should be comfortably warm to the touch.
Rinse the Mold:
- Direct Application: Hold the mold under a gentle stream of warm water, allowing the water to flow over and through the mold’s cavities. This helps wash away any remaining isopropyl alcohol, acetone, or other cleaning agents.
- Use a Soft Brush if Needed: For stubborn areas, you can use a soft brush to help dislodge any residual cleaning agents while rinsing.
Ensure Thorough Rinsing:
- Check for Residue: Make sure all traces of the cleaning agents are washed away. Residual chemicals can interfere with future resin projects and may cause defects in the finished pieces.
Inspect the Mold:
- Look for Residual Agents: After rinsing, inspect the mold to ensure there is no remaining residue or cleaning agent. If necessary, rinse again until the mold is completely clean.
Wash with Mild Dish Soap
Cleans away any remaining grease or residues from previous cleaning agents to ensure a thorough clean.
Apply Dish Soap:
- Amount: Use a small amount of mild dish soap. Avoid using harsh detergents as they can damage the mold material.
- Application: Apply the soap directly to the mold’s surface or to a soft brush or sponge.
Clean the Mold:
- Use a Soft Brush or Sponge: Gently scrub the mold with a soft brush or sponge. Work the soap into a lather to effectively break down any remaining grease or residues.
- Pay Attention to Detail: Ensure you clean all areas of the mold, including any intricate details or crevices where residue might be trapped.
Rinse Thoroughly:
- With Warm Water: Rinse the mold thoroughly with warm water to remove all soap residues. Any leftover soap can leave a film that might affect future resin pours.
- Check for Cleanliness: Make sure that no soap residue remains in the mold. If necessary, rinse again to ensure a clean surface.
Dry the Mold
Ensures the mold is free of moisture before storage, preventing damage and residue build-up.
Prepare a Clean, Dry Cloth:
- Select the Cloth: Use a clean, dry cloth that is free of lint or fibers to avoid leaving any particles on the mold.
Pat the Mold Dry:
- Gently Dry the Surface: Carefully pat the mold with the cloth to absorb excess moisture. Avoid rubbing or applying excessive pressure to prevent damaging the mold.
- Focus on Details: Pay special attention to intricate areas and crevices to ensure they are thoroughly dried.
Ensure Complete Dryness:
- Check for Moisture: Inspect the mold to confirm that it is completely dry. Any remaining moisture can lead to mold damage or affect the quality of future resin pours.
- Allow Air Drying if Needed: If the mold is still damp after patting it dry, leave it in a well-ventilated area to air dry completely before storing.
Store Properly:
- Avoid Direct Sunlight: Store the dried mold in a cool, dry place away from direct sunlight to prevent warping or degradation.
Inspect for Residue
Ensures that all resin and residues are fully removed from the mold, including in hard-to-reach areas.
Conduct a Thorough Inspection:
- Visual Check: Carefully examine the mold for any remaining resin or residue. Look at all surfaces, including intricate details and crevices where residue might be hidden.
Clean Hard-to-Reach Areas:
- Use Cotton Swabs or Q-Tips: For small or detailed areas that are difficult to reach with a brush or sponge, dip a cotton swab or Q-tip in isopropyl alcohol.
- Gently Clean: Carefully use the dipped cotton swab or Q-tip to clean away any remaining resin or residue. Use a gentle, twisting motion to avoid damaging the mold.
Check for Residual Cleaner:
- Ensure Cleanliness: After using the cotton swab, check the mold again to ensure no residue from the cleaning agent remains. Wipe away any excess alcohol with a clean, dry cloth if necessary.
Final Inspection:
- Confirm Cleanliness: Make a final inspection to ensure the mold is completely free of resin and residue. Proper cleaning in all areas ensures the mold is ready for its next use.
Store Properly
Ensures the mold remains in optimal condition by preventing damage and degradation.
Choose the Right Storage Location:
- Cool and Dry Place: Store the mold in a cool, dry environment to prevent heat and humidity from causing warping or degradation.
- Avoid Direct Sunlight: Keep the mold away from direct sunlight, as UV rays can deteriorate the mold material over time.
Proper Storage Methods:
- Flat Surface: Store the mold on a flat surface to maintain its shape and prevent any deformation. Avoid stacking molds on top of each other if they are not specifically designed to be stacked.
- Protective Cover: Consider using a protective cover or bag to shield the mold from dust and accidental damage.
Regular Checkups:
- Inspect Periodically: Occasionally check the stored mold to ensure it remains in good condition. Look for any signs of wear or damage that might require attention.
Additional Tips:
- Avoid Harsh Chemicals: Some cleaning agents might damage silicone molds or other materials. Always test a small area first.
- Regular Cleaning: Clean your molds after each use to prevent the build-up of resin, which can affect the quality of your future projects.
- Use Mold Release Agents: Applying a mold release agent before pouring resin can make cleaning easier and prolong the life of your molds.
Proper cleaning and maintenance of your resin molds will ensure that they remain in good condition and continue to produce high-quality resin pieces. Following these steps will help you achieve the best results and extend the lifespan of your molds.

