Creating resin jewelry with flowers is a beautiful way to preserve the charm of nature and turn it into timeless, personalized accessories. Whether you’re an experienced crafter or a beginner, this guide will walk you through the process of making stunning resin jewelry using flowers. Follow these steps to craft your own unique pieces.
Materials You’ll Need
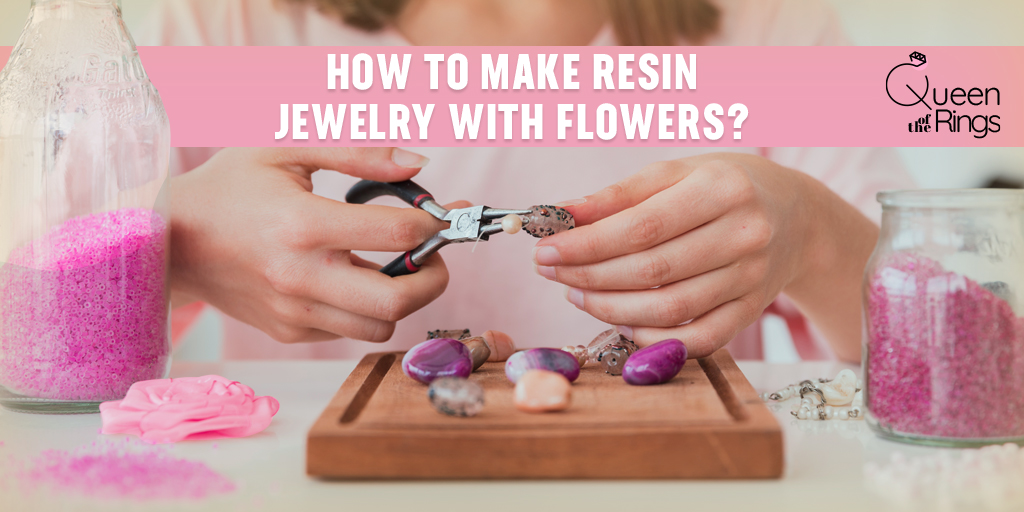
Here are the materials you’ll need to get started:
- Epoxy Resin: A two-part resin that will harden to form a clear, durable finish.
- Hardener: Typically comes with the epoxy resin. It reacts with the resin to cure it.
- Flower Petals: Fresh or dried, but ensure they’re completely dry to avoid mold.
- Jewelry Molds: Silicone molds in various shapes for rings, pendants, earrings, etc.
- Mixing Cups and Stirrers: For mixing the resin and hardener.
- Tweezers: To place flowers into the molds.
- Gloves and Protective Gear: To protect your hands and work area.
- Pipettes or Droppers: For precise resin pouring.
- Sandpaper and Polishing Cloth: For finishing touches.
Step-by-Step Process
Complete your Risin Jewelry by following the steps given below:
Prepare Your Workspace
Ensure your workspace is clean and well-ventilated. Lay down protective sheets and gather all your materials. Wear gloves and other protective gear to handle the resin.
Choose and Prepare Your Flowers
Select flowers that are small enough to fit into your molds. Dried flowers are easier to work with, but you can use fresh flowers as long as they are completely dry before embedding them in resin. Use tweezers to handle the delicate petals and place them carefully.
Mix the Resin
Follow the instructions on your epoxy resin kit. Typically, you’ll need to mix equal parts of resin and hardener in a mixing cup. Stir the mixture thoroughly for a few minutes until it’s well-blended. Be mindful of air bubbles and stir slowly to minimize them.
Pour Resin into Molds
Pour a small amount of resin into each mold cavity, filling it about halfway. This will create a base layer. Use a pipette or dropper for more precision if needed.
Arrange the Flowers
Gently place the flower petals into the resin. Use tweezers to arrange them as desired. Ensure they are fully submerged in the resin. You can add more resin on top if needed to cover the flowers completely.
Add More Resin and Remove Air Bubbles
Pour more resin over the flowers to fill the mold completely. Use a toothpick or a needle to pop any air bubbles that rise to the surface. Allow the resin to settle and cure as per the manufacturer’s instructions, usually 24-48 hours.
Remove and Finish Your Jewelry
Once the resin has fully cured, carefully remove the pieces from the molds. Use sandpaper to smooth any rough edges. Polish with a cloth to give your jewelry a glossy finish.
Assemble Your Jewelry
Attach hooks, chains, or other jewelry findings to complete your pieces. You can create earrings, necklaces, or rings based on the mold shapes you used.
Tips for Success
- Experiment with Different Flowers: Use a variety of flowers to create unique designs.
- Avoid Overfilling: Don’t overfill the molds as the resin might spill.
- Practice Patience: Allow sufficient curing time to achieve a perfect finish.
Conclusion
Want to add a unique touch to your jewelry collection? Our guide on How to Make Resin Jewelry with Flowers will provide you with the insights and techniques needed to create stunning, personalized pieces that can set your brand apart and attract more customers. Explore this article to discover how to diversify your offerings and grow your online business faster. Shop now for the materials you’ll need for your project, available online from CyberMart.pk.

