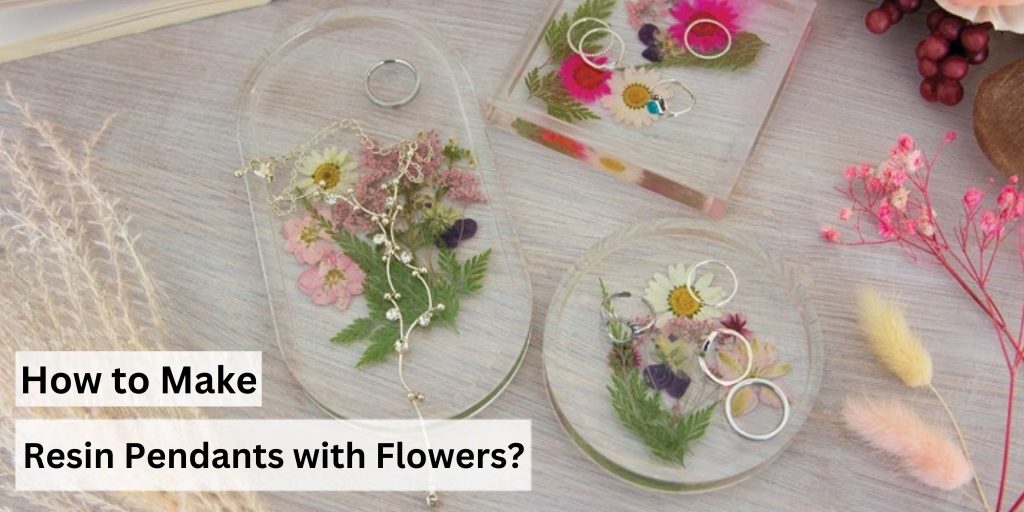
Creating resin pendants with flowers is a delightful craft that combines art and nature. These unique pieces of jewelry are perfect for personal use or as thoughtful gifts. Here’s a comprehensive guide on how to make beautiful resin pendants with flowers.
Materials Needed
- Resin Kit: Includes resin and hardener.
- Flowers: Fresh or dried, small enough to fit into the pendant mold.
- Pendant Molds: Silicone molds in your preferred shapes.
- Mixing Cups and Sticks: For mixing the resin.
- Tweezers: For placing flowers.
- Gloves and Mask: To protect your hands and avoid inhaling fumes.
- UV Lamp (Optional): For curing UV resin.
Step-by-Step Instructions
Prepare Your Workspace
Ensure you’re working in a well-ventilated area. Cover your workspace with protective sheets to avoid any resin spills. Wear gloves and a mask for safety.
Prepare the Flowers
If using fresh flowers, dry them thoroughly to prevent mold formation. You can press them between paper towels or use a flower press. Small, delicate flowers work best for pendants.
Mix the Resin
Follow the instructions on your resin kit. Typically, you will mix equal parts of resin and hardener. Pour each component into separate mixing cups, then combine them in a third cup. Stir thoroughly for about 3-5 minutes to ensure the mixture is well combined.
Pour a Base Layer
Pour a small amount of resin into the pendant mold to create a base layer. This layer helps to secure the flowers in place. Allow this layer to partially set but not fully cure; it should still be tacky.
Place the Flowers
Use tweezers to carefully place the dried flowers into the partially set resin layer. Arrange them as desired. You can add more flowers or adjust their placement as needed.
Add More Resin
Pour additional resin over the flowers to cover them completely. Make sure there are no air bubbles trapped around the flowers. You can use a toothpick to gently pop any bubbles or to move the flowers into place.
Cure the Resin
Allow the resin to cure according to the manufacturer’s instructions. This can take several hours to overnight, depending on the resin type. If you’re using UV resin, cure it under a UV lamp for the time specified.
Remove and Finish
Once the resin is fully cured, carefully remove the pendant from the mold. If needed, use sandpaper to smooth any rough edges. You can also polish the surface to achieve a glossy finish.
Attach a Bail
Glue a pendant bail to the top of the resin piece if it’s not already part of the mold. This bail will allow you to attach the pendant to a chain or cord.
Enjoy Your Creation
Your resin pendant with flowers is now ready to wear or gift. Enjoy the beauty and uniqueness of your handmade jewelry!
Tips for Success
- Work in Small Batches: Resin can set quickly, so work in small batches to avoid waste.
- Experiment with Colors: You can add dyes or glitter to the resin for added effects.
- Avoid Overloading: Too many flowers can cause difficulty in curing and affect the clarity of the pendant.
Making resin pendants with flowers is a fun and creative way to craft unique jewelry. With these steps, you can create beautiful, personalized pieces that capture the essence of nature. Happy crafting!
For a seamless shopping experience, visit CyberMart.pk to explore a range of crafting supplies, including resin kits and pendant molds. Our comprehensive guide on How to Make Resin Pendants with Flowers will help you get started with your creative projects. Don’t forget to check out our Craft Supplies section for all the tools you need to bring your resin jewelry ideas to life.


